Step-by-Step Guide to Install TiviMate IPTV Player on Windows 11

Did you know millions watch live TV on PCs for a better feel? TiviMate IPTV Player from Armobsoft FZE lets you watch your favorite shows on a big screen at home.
This app lets you control your live TV. You can use your own IPTV playlist. TiviMate makes it easy to set up on Windows 11.
Key Takeaways
- Learn how to easily install TiviMate on Windows 11.
- Understand the benefits of using TiviMate on a PC.
- Discover how to bring your IPTV playlist to life with TiviMate.
- Enhance your live TV viewing experience on a bigger screen.
- Follow a step-by-step guide for a hassle-free installation.
What is TiviMate IPTV Player?
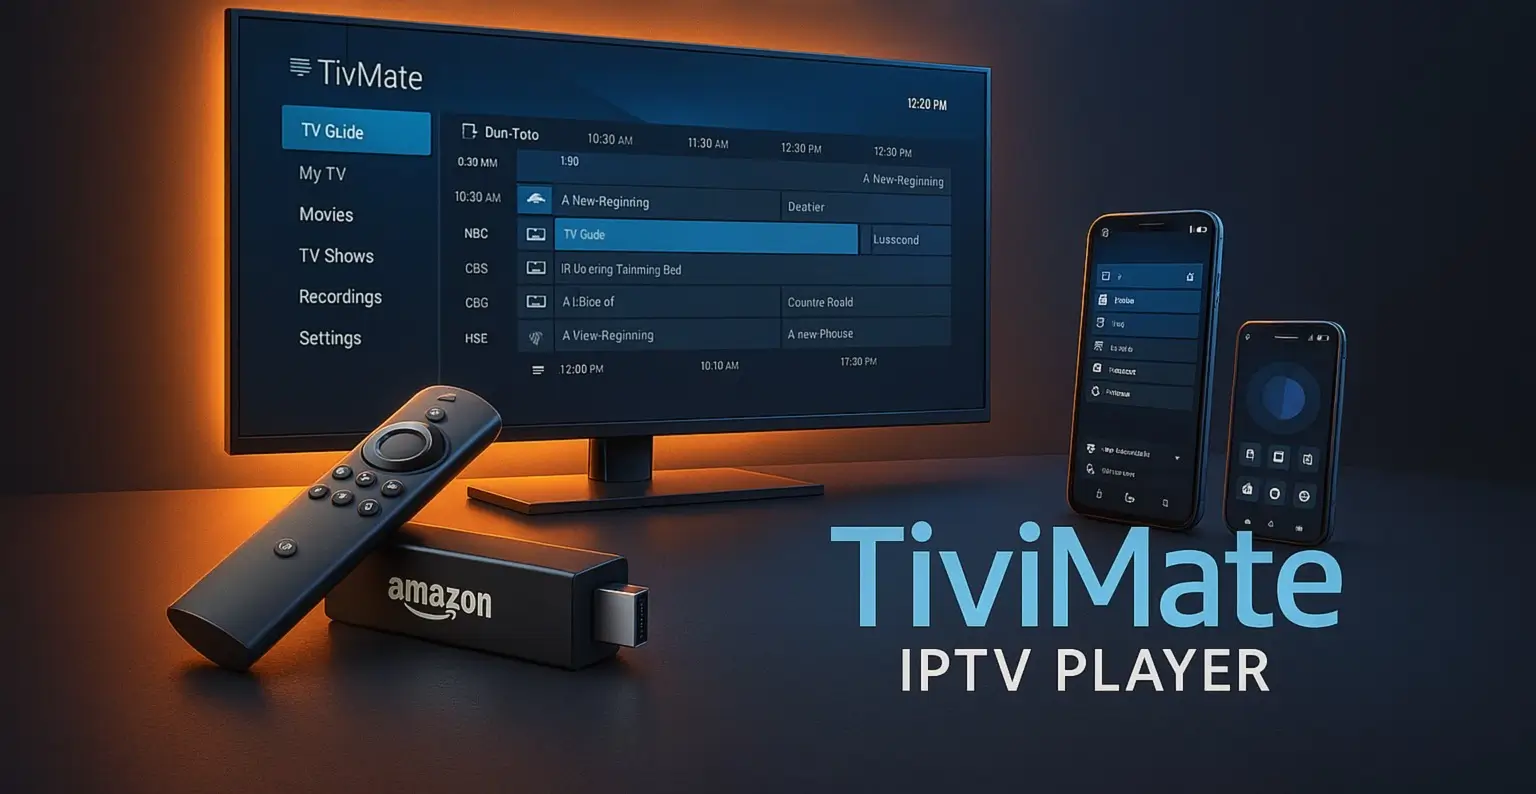
TiviMate IPTV Player is a top choice for watching live TV. It has a cool design and lots of features. It’s easy to use and perfect for those who love IPTV.
Features and Benefits
TiviMate IPTV Player has many cool features. Some of these are:
- A sleek and intuitive interface
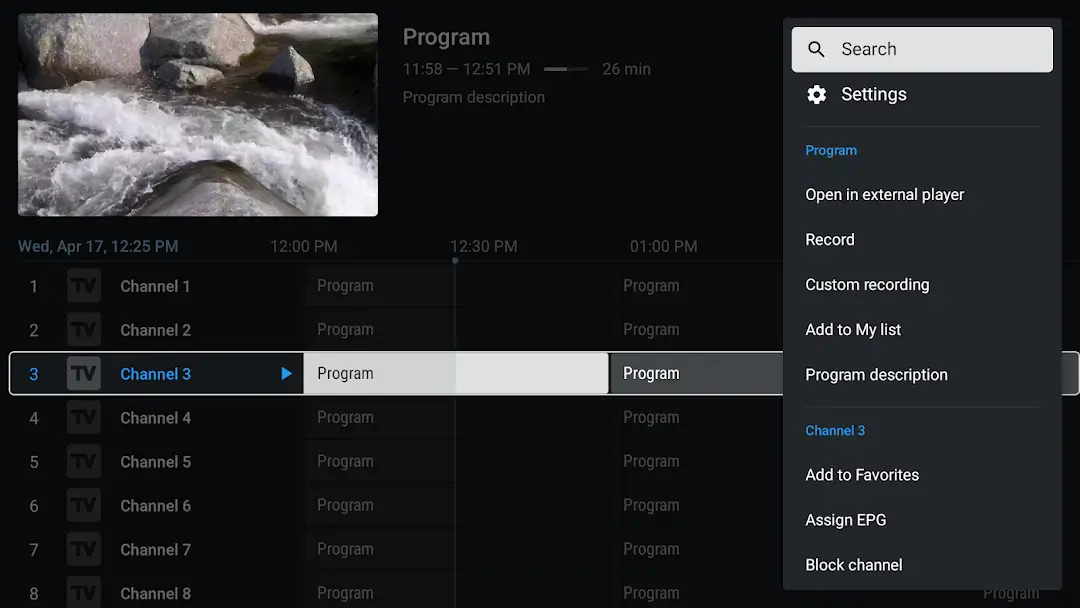
- Electronic Program Guide (EPG) to check TV schedules
- Customizable channel lists for personalized viewing
- Catch-up and recording features for missed shows
These features make TiviMate great for watching IPTV on a big screen.
Why Use TiviMate on Windows 11
Using TiviMate on Windows 11 is awesome. Windows 11 works well and has big screens. It’s perfect for watching TV at home.
| Feature | TiviMate on Windows | TiviMate on Android |
|---|---|---|
| EPG Support | Yes | Yes |
| Customizable Channels | Yes | Yes |
| Catch-up TV | Yes | Yes |
Prerequisites for Installing TiviMate on Windows11
Before you start installing TiviMate on your Windows 11 PC, make sure you have what you need. Check your system’s specs and get the right software.
System Requirements
Your PC needs to meet some requirements to run TiviMate well on Windows 11. You should have at least 4GB RAM for smooth running. Also, a fast internet connection of at least 10 Mbps is needed for streaming without stops.
| Component | Minimum Requirement |
|---|---|
| RAM | 4GB |
| Internet Speed | 10 Mbps |
| Operating System | Windows 11 |
Required Software
You also need to install certain software to use TiviMate on Windows 11. An Android emulator like BlueStacks is key because TiviMate is for Android. You’ll also need the TiviMate APK file or access to it through the Google Play Store via the emulator. Plus, an active IPTV subscription with an M3U URL or Xtream Codes is needed to watch content on TiviMate.
- Android Emulator (e.g., BlueStacks)
- TiviMate APK or Google Play Store access
- IPTV Subscription
Understanding TiviMate’s Android Nature
TiviMate needs an emulator to work on Windows 11. It’s a strong IPTV player for Android devices. But, it can’t run on Windows 11 PCs because it’s built for Android.
Why TiviMate Needs an Emulator
TiviMate needs an emulator because it’s made for Android. An emulator makes a fake Android space on your PC. This lets Android apps like TiviMate work well.
Using an emulator lets you download TiviMate for Windows 11. You can watch your favorite IPTV on a bigger screen. BlueStacks and NoxPlayer are top picks for running TiviMate on Windows 11.
Best Emulators for TiviMate
There are many emulators for TiviMate, but some are better. BlueStacks is the top Android emulator. NoxPlayer is also great for TiviMate users. To tivimate windows download, pick one of these emulators for a smooth experience.
If you want to download TiviMate for PC Windows 11, start with a good emulator. BlueStacks and NoxPlayer let you install TiviMate and other Android apps. This makes TiviMate work as a TiviMate for PC Windows 11 option.
How to Install TiviMate IPTV Player on Windows11 Using BlueStacks

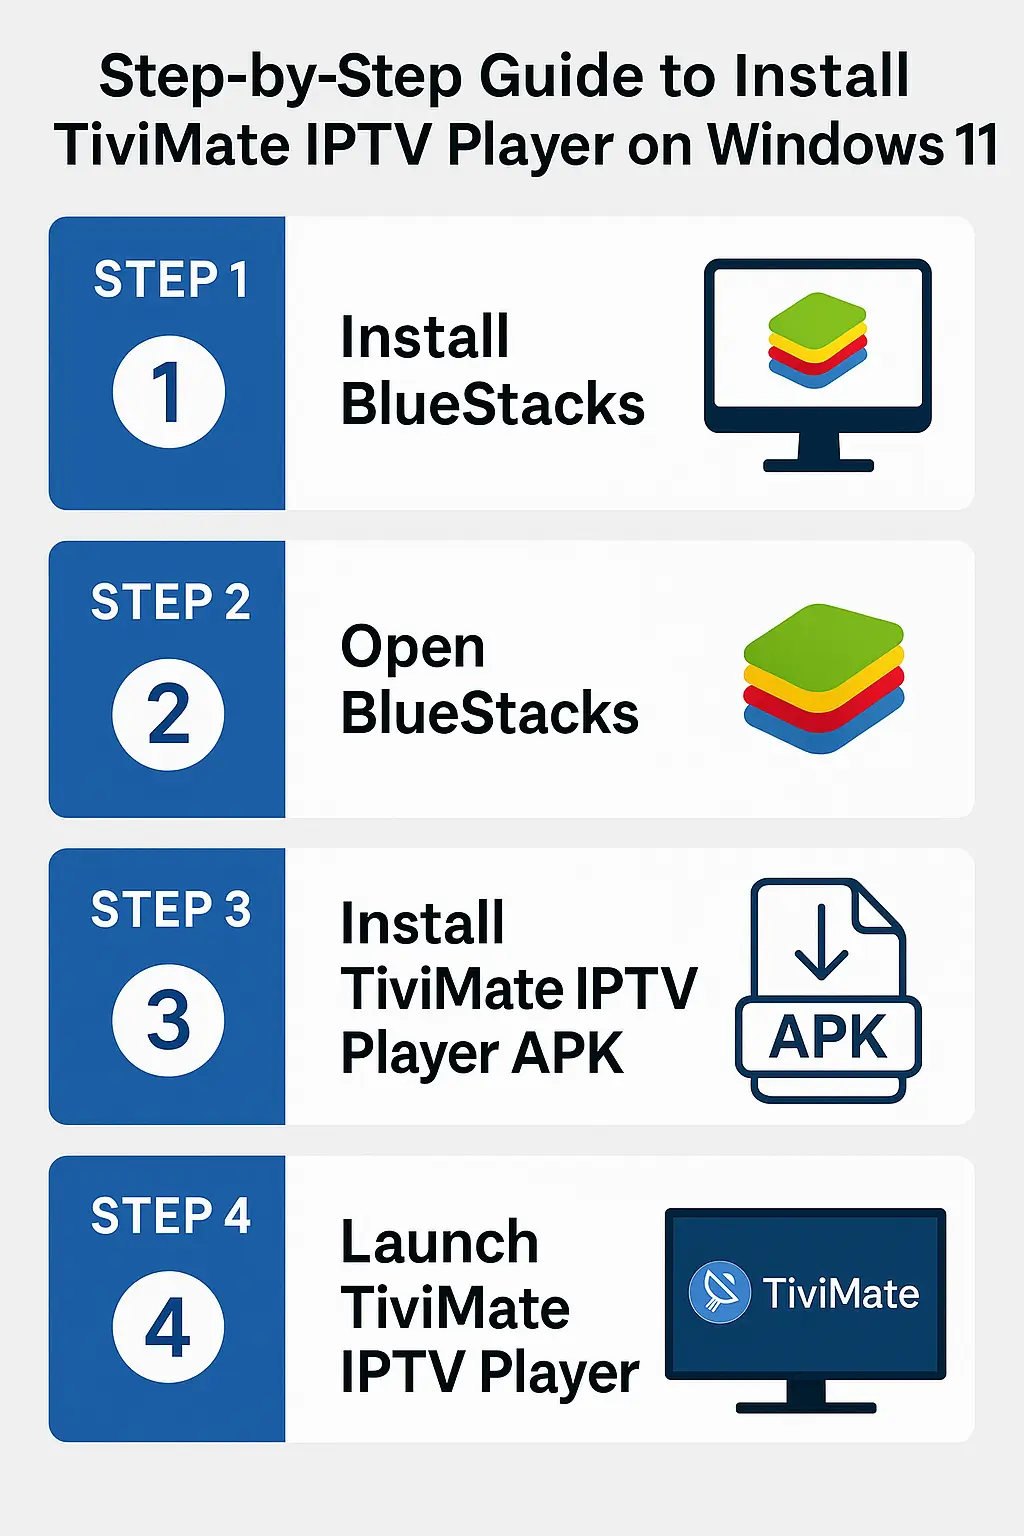
BlueStacks makes it easy to put TiviMate IPTV Player on Windows 11. It’s great for those who like simple steps without complicated emulators.
Downloading and Installing BlueStacks
First, get BlueStacks from its official site. Just run the installer and follow the prompts. After it’s installed, open BlueStacks and log in with your Google account to get to the Google Play Store.
Getting BlueStacks is the first step to use TiviMate on your Windows 11 PC. Make sure to get it from the official BlueStacks site to stay safe from malware.
Configuring BlueStacks for Optimal Performance
To run smoothly, set up BlueStacks right. Go to settings, then “Performance,” and pick “High Performance” for TiviMate to work well.
Setting up BlueStacks right makes watching videos better. It helps avoid lag and buffering.
Installing TiviMate Through Google Play Store
Now, open the Google Play Store in BlueStacks. Look for “TiviMate IPTV Player” and tap “Install.” After it’s installed, open TiviMate and log in to start watching your favorite shows.
Using the Google Play Store in BlueStacks makes installing TiviMate easy. It makes it simple to get TiviMate on your Windows 11 PC.
| Step | Description |
|---|---|
| 1 | Download and Install BlueStacks |
| 2 | Configure BlueStacks for High Performance |
| 3 | Install TiviMate from Google Play Store |
By following these steps, you can easily install TiviMate IPTV Player on Windows 11 with BlueStacks. You’ll enjoy a great IPTV experience on your PC.
Installing TiviMate Using NoxPlayer
NoxPlayer is a good choice if you don’t want to use BlueStacks. It’s a strong Android emulator for Windows 11. It works well with TiviMate and other Android apps.
Setting Up NoxPlayer on Windows 11
First, get the NoxPlayer installer from its website. Run it and follow the steps to install. Then, open NoxPlayer and set it up how you like.
NoxPlayer lets you change CPU and RAM settings. This helps TiviMate run smoothly. Make sure you have the Google Play Store in NoxPlayer to get TiviMate.
Installing TiviMate on NoxPlayer
Open the Google Play Store in NoxPlayer. Search for “TiviMate IPTV Player” and click “Install.” Then, start TiviMate and sign in with your Google account.
Now, set up TiviMate for your IPTV. Add your M3U playlist and EPG settings. NoxPlayer makes it easy to use TiviMate on Windows 11.
| Feature | NoxPlayer | BlueStacks |
|---|---|---|
| Performance | High | High |
| Customization | Extensive | Limited |
| Google Play Store | Supported | Supported |
NoxPlayer is a great choice for TiviMate on Windows 11. It offers lots of customization and high performance. It’s a solid alternative to running TiviMate on Android.
Using LDPlayer to Run TiviMate

LDPlayer is a great way to run TiviMate on Windows 11. It’s an Android emulator known for its speed and options. It makes using Android apps on your PC easy and fun.
Installing and Configuring LDPlayer
To use LDPlayer for TiviMate, first download and install it from its website. Just run the installer and follow the steps. Then, open LDPlayer and set it up for your PC’s best performance.
Key Configuration Steps:
- Adjust CPU and RAM settings based on your PC’s hardware.
- Customize the screen resolution if needed.
- Enable necessary permissions for LDPlayer.
Getting TiviMate on LDPlayer
Once LDPlayer is set up, you can install TiviMate. Open the Google Play Store in LDPlayer, search for TiviMate, and install it. Or, download the TiviMate APK and add it to LDPlayer.
Here’s a comparison of LDPlayer with other popular emulators:
| Emulator | Performance | Ease of Use |
|---|---|---|
| LDPlayer | High | Easy |
| BlueStacks | High | Easy |
| NoxPlayer | Medium | Moderate |
With TiviMate on LDPlayer, you’re all set to watch your favorite IPTV shows on Windows 11.
Setting Up TiviMate After Installation
Now that TiviMate IPTV Player is installed, let’s start the setup. Setting up TiviMate is easy. It has a few steps to make sure you enjoy your IPTV subscription.
Creating an Account and Activating TiviMate
To use TiviMate, you might need to create an account or activate it. If you bought TiviMate Premium, log in with your details. Activation usually means entering a code from your subscription or buying the premium version in the app.
Activation Steps:
- Open TiviMate and go to the settings or activation section.
- Enter your activation code or login details.
- Follow the instructions on the screen to finish activation.
Adding IPTV Providers and Playlists
After activating TiviMate, add your IPTV provider and playlists. Get the M3U playlist URL from your IPTV provider. Then, add it to TiviMate by going to playlist settings and entering the URL.
Tips for Adding Playlists:
- Make sure your M3U URL is current and correct.
- Use the “Add Playlist” feature in TiviMate to add your IPTV provider’s details.
- Organize your channels by creating custom categories or using the EPG (Electronic Program Guide).
Configuring EPG and Channel Settings
Configuring the EPG and channel settings makes watching TV better. TiviMate lets you customize the EPG and channel list. You can also adjust settings like aspect ratio and buffering to your liking.
EPG Configuration:
- Go to the EPG settings in TiviMate.
- Pick your preferred EPG source and set the update frequency.
- Customize the channel list by adding or removing channels.
By following these steps, you can set up TiviMate IPTV Player on your Windows 11 PC. This ensures a smooth and fun IPTV viewing experience.
Optimizing TiviMate Performance on Windows11

To make TiviMate work better on Windows 11, tweak emulator and app settings. This ensures a smooth viewing experience. It’s key to set up the emulator and TiviMate right.
Emulator Settings for Best Performance
Start by giving the emulator enough RAM and CPU power. Most emulators let you change these settings when you install them or in their settings menu. For example, using at least 4GB of RAM and 2 CPU cores helps a lot.
Also, turn on ‘High Performance’ or ‘Graphics’ mode in the emulator settings. This makes video play better.
Key emulator settings to adjust:
- RAM allocation: At least 4GB
- CPU cores: At least 2
- Graphics mode: High Performance or equivalent
TiviMate Settings for Windows Users
In TiviMate, you can tweak settings for better performance on Windows 11. First, make sure the app is up to date. Then, go to the settings menu and tweak the Buffer settings to handle network changes well. Also, turn on ‘EPG’ (Electronic Program Guide) for a better viewing experience.
Key TiviMate settings to adjust:
- Update to the latest version
- Buffer settings: Moderate or High
- Enable EPG for better channel navigation
By tweaking both emulator and TiviMate settings, you get a smoother IPTV experience on Windows 11. Check and adjust these settings often to keep performance top-notch.
Troubleshooting Common Installation Issues

Getting TiviMate IPTV Player to work right on Windows 11 is key. Even with an easy setup, problems can pop up. It’s important to fix these issues for the best experience.
Emulator Compatibility Problems
Many users struggle with emulator issues on Windows 11. Make sure your emulator is up to date. This can fix many problems.
For example, BlueStacks and NoxPlayer often update to work better with new Windows. Keeping your emulator current helps a lot.
| Emulator | Compatibility Fix |
|---|---|
| BlueStacks | Update to the latest version |
| NoxPlayer | Update to the latest version and enable virtualization |
TiviMate Crashes or Performance Issues
When TiviMate crashes or runs slow, there are steps to take. First, make sure your emulator is set up right. This means giving it enough RAM and CPU power.
Also, cleaning out TiviMate’s cache and data can help. This makes it run better.
Key Steps to Improve Performance:
- Give the emulator at least 4GB of RAM.
- Turn on high-performance mode in the emulator settings.
- Clear TiviMate’s cache and data often.
Streaming and Playback Problems
Streaming and playback issues often come from internet or IPTV settings. Make sure your internet is strong and steady. Also, check that your IPTV settings are right in TiviMate.
Common Fixes:
- Check your internet speed and stability.
- Verify IPTV provider settings and credentials.
- Update TiviMate to the latest version.
Upgrading to TiviMate Premium on Windows11
Discover the full power of TiviMate on Windows 11 with a premium upgrade. It unlocks advanced features that make watching IPTV better.
Benefits of Premium Version
TiviMate Premium has cool features. You can record live TV, manage playlists, and watch without ads. It’s great for those who want a better IPTV experience.
- Record live TV and watch it later
- Manage multiple IPTV playlists with ease
- Enjoy an ad-free viewing experience
Upgrading to TiviMate Premium lets you customize your IPTV. It’s a good choice for those who use it a lot.
How to Purchase and Activate Premium Features
Buying TiviMate Premium is easy. First, open the TiviMate app on your Windows 11 device. Then, go to the settings or preferences.
Find the “Upgrade to Premium” or “Activate Premium” option. Follow the steps to buy it through the Google Play Store or the TiviMate website.
- Open TiviMate and go to settings
- Select “Upgrade to Premium”
- Follow the prompts to complete the purchase
- Activate Premium using the provided code or instructions
After activation, you get all the premium features. This makes your IPTV experience on Windows 11 even better.
Conclusion
Now you can install TiviMate IPTV Player on your Windows11 device. You used emulators like BlueStacks to make it work. This lets you enjoy IPTV without any trouble.
After installing TiviMate, you’re all set to dive into IPTV. Set up your IPTV provider and add playlists. You can also change EPG and channel settings to fit your taste. Enjoy your favorite shows, movies, and sports with TiviMate on Windows11.
Keep using TiviMate and try to make it better. Play with emulator settings and TiviMate options. Whether you watch a lot or a little, TiviMate on Windows11 makes TV better.
FAQ

What is TiviMate IPTV Player, and how does it work on Windows11?
TiviMate IPTV Player lets you watch live TV, movies, and series. On Windows11, it works with an Android emulator. This makes it feel like using it on Android devices.
Can I install TiviMate IPTV Player directly on Windows11 without an emulator?
No, TiviMate is for Android, and Windows11 can’t run it directly. You need an emulator like BlueStacks to use it on Windows11.
What are the system requirements for running TiviMate IPTV Player on Windows11?
Your PC needs a few things to run TiviMate. It should have a good processor, at least 8GB of RAM, and Windows11.
How do I optimize TiviMate performance on Windows11?
To make TiviMate run better, set up your emulator right. Give it enough RAM and CPU. Also, tweak TiviMate’s settings for the best viewing.
What should I do if TiviMate crashes or experiences performance issues on Windows11?
If TiviMate crashes, try updating your emulator. You can also reinstall TiviMate or adjust settings. Check for software conflicts or IPTV provider issues.
Can I use TiviMate IPTV Player for free on Windows11?
Yes, you can get TiviMate for free. But, some features need the premium version. Buying Premium unlocks more features.
How do I purchase and activate TiviMate Premium on Windows11?
To buy Premium, open TiviMate and go to settings. Look for the Premium option. Follow the steps to buy and activate it.
Is TiviMate IPTV Player compatible with all IPTV providers?
TiviMate works with most providers. But, check with your provider for specific needs.
Can I use TiviMate on multiple devices with the same account?
Yes, you can use TiviMate on many devices with one account. But, your provider might limit the number of devices.
How do I configure EPG and channel settings in TiviMate on Windows11?
To set up EPG and channels, open TiviMate. Go to settings and find EPG or channels. Follow your provider’s guidelines to set it up.
